 ERRATUM:
The focus must be surgical
ERRATUM:
The focus must be surgical
Alain Oguse - 2026 June
This website is dedicated to documenting my process of creating a prototype to digitize 24x36 black-and-white Tri-X negatives while preserving their most subtle textures. One day, I finally achieved the results I had been dreaming of...
I still had a major mistake in my process (ERRATUM) !
 The
bellows of the lens holder on the enlarger will be lowered for the
shot, thus avoiding the need for complete darkness in the roomIndeed,
from time to time, I was no longer achieving the same results. The
grain would suddenly appear coarse, pasty, and unappealing—without any
clear explanation. Countless times, I went back and rechecked all my
settings, to no avail. It was only when I reviewed the dates of my
most recent files that I realized one of these abrupt degradations had
occurred after a change in the negative format. This led me
to suspect a focusing issue. Yet, I had always taken the
utmost care with it!
The
bellows of the lens holder on the enlarger will be lowered for the
shot, thus avoiding the need for complete darkness in the roomIndeed,
from time to time, I was no longer achieving the same results. The
grain would suddenly appear coarse, pasty, and unappealing—without any
clear explanation. Countless times, I went back and rechecked all my
settings, to no avail. It was only when I reviewed the dates of my
most recent files that I realized one of these abrupt degradations had
occurred after a change in the negative format. This led me
to suspect a focusing issue. Yet, I had always taken the
utmost care with it!
As a last resort—and on a whim—I decided to try improving my focusing system, which I had always found awkward and had struggled with since the beginning. If it didn’t solve the problem, at least it wouldn’t make things any worse.
The photo below shows the Nikon bellows and the Krokus enlarger column, which at this stage still allowed me to adjust the focus. This was what needed to be improved.
It was while walking in the woods—you should always walk when you
need to think—that a simple idea came to me: 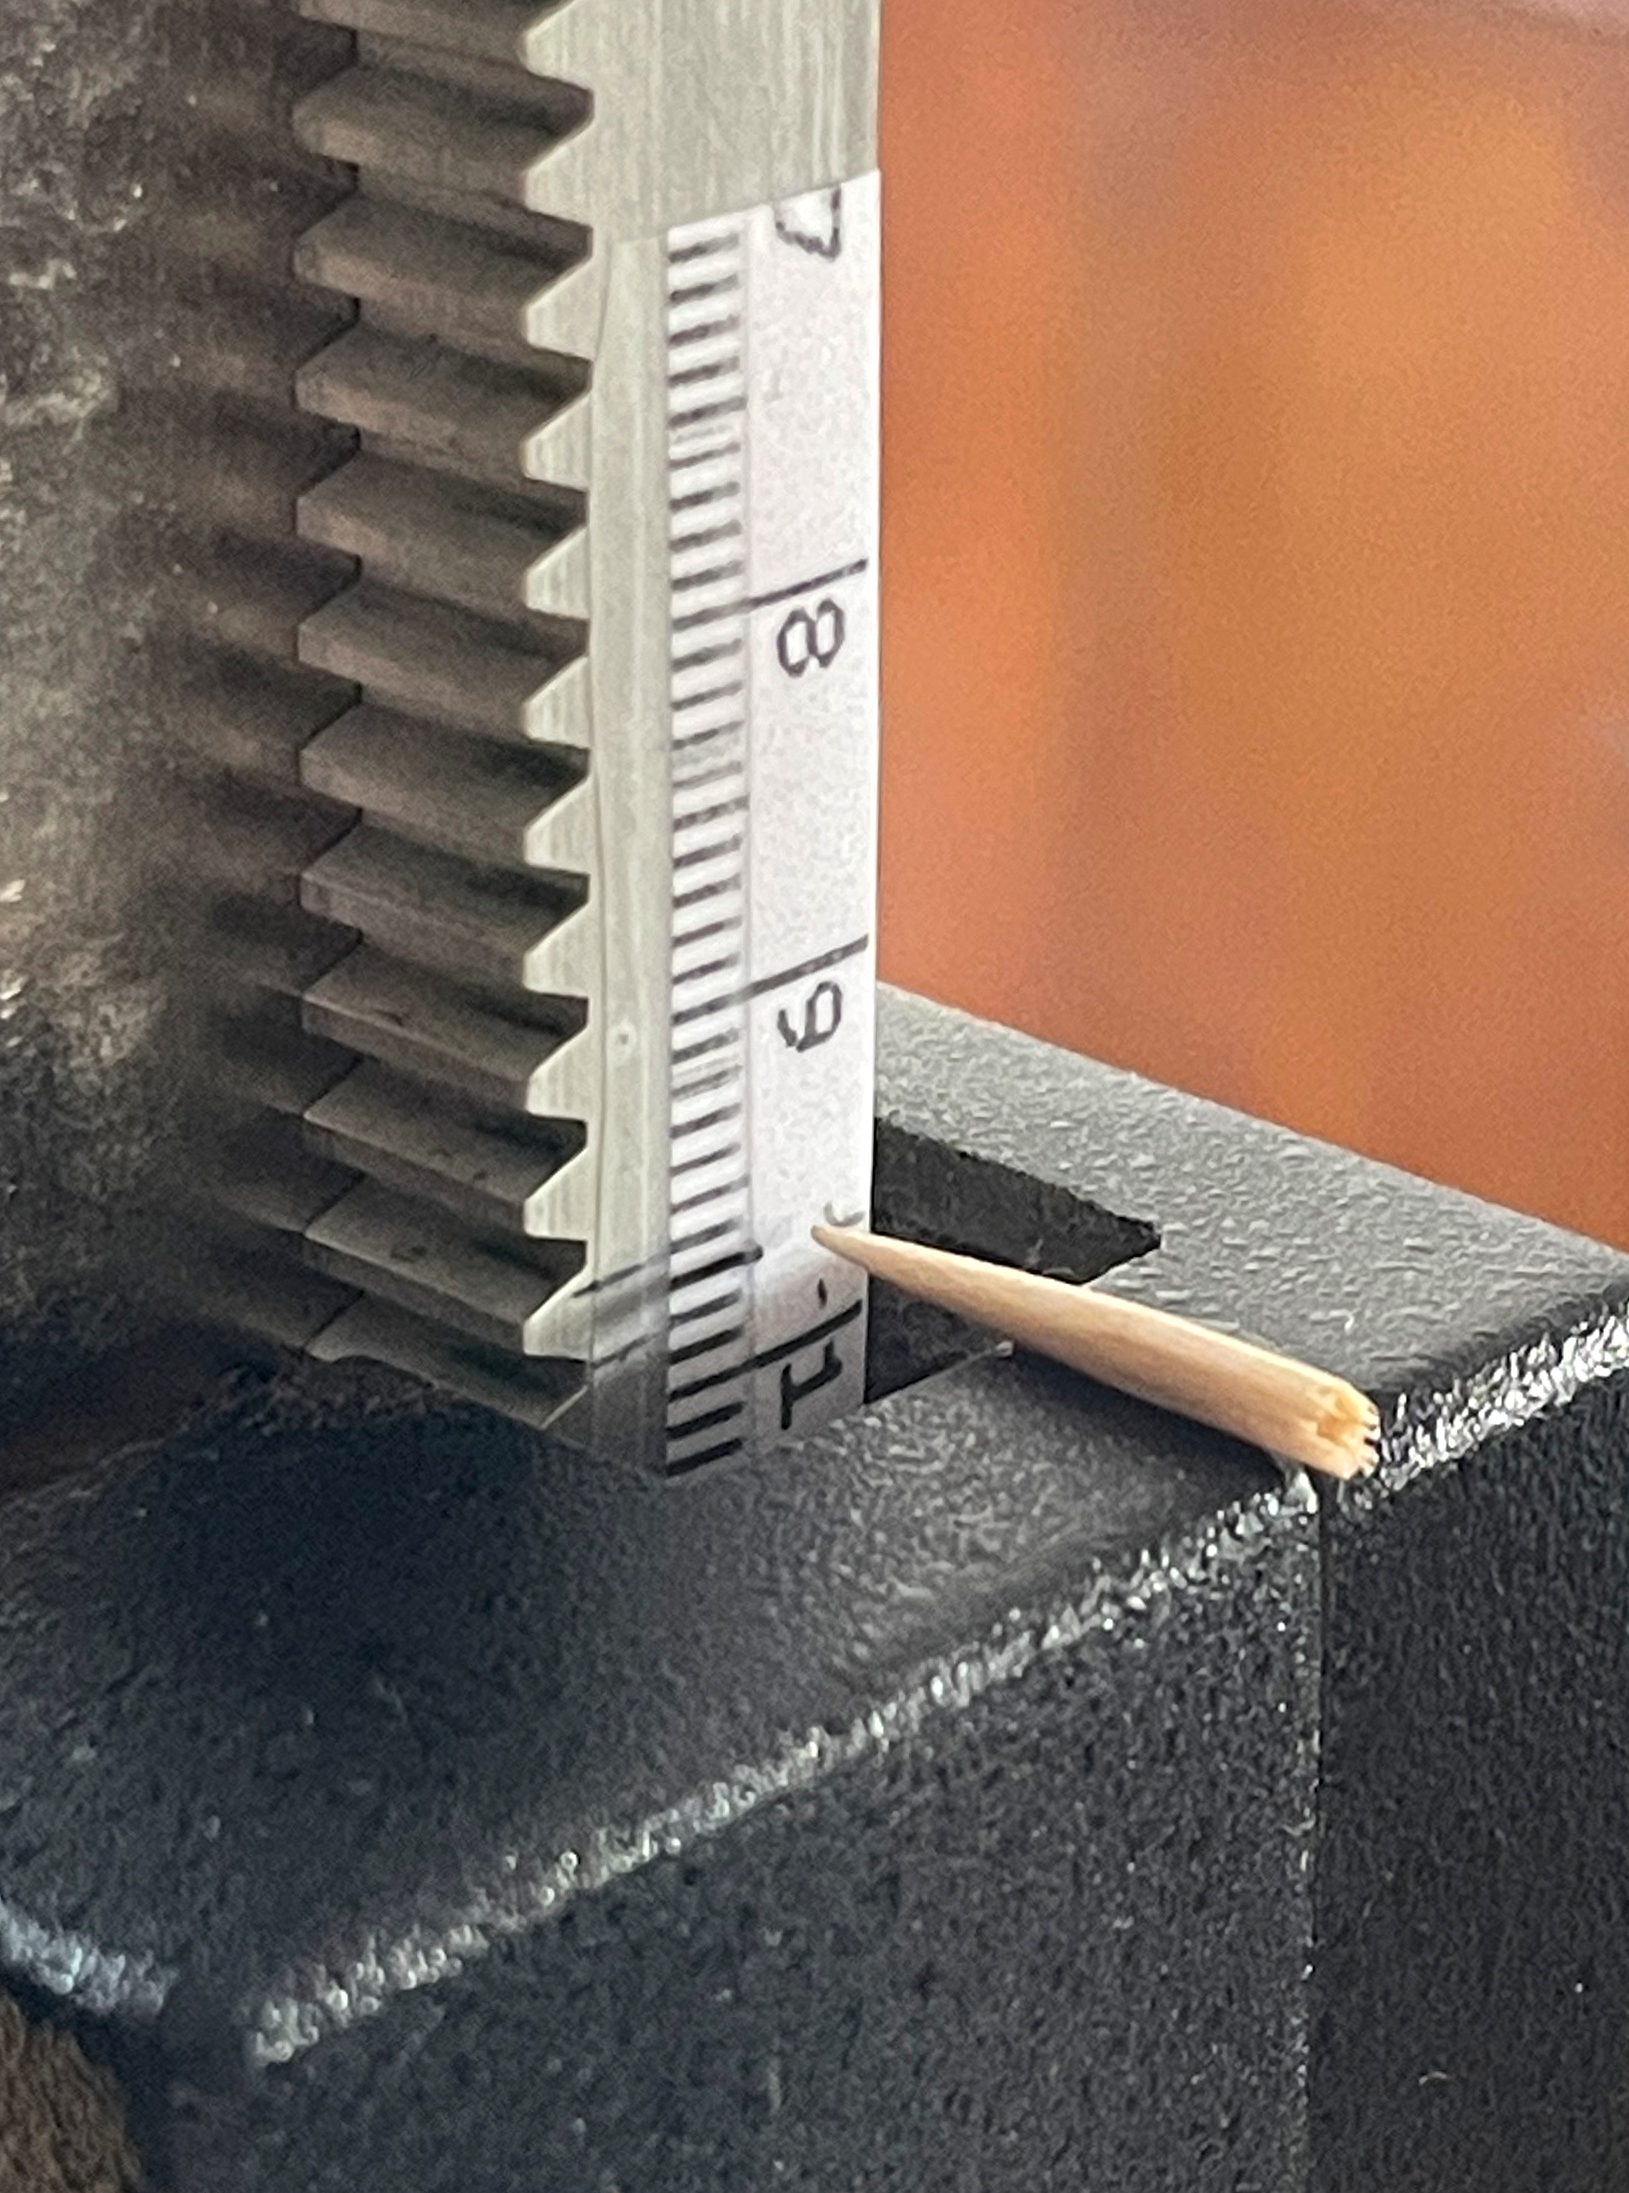 Une
règle sur la colonne de l'agrandisseur et un cure-dent
Une
règle sur la colonne de l'agrandisseur et un cure-dent
-
Add a millimeter-scale graduation to the enlarger column and glue a toothpick tip opposite it,
-
Conduct a first, meticulously executed test. Then, using the toothpick as a reference, perform a "bracketing"—that is, make additional tests by adjusting the focus millimeter by millimeter, first upward and then downward.
What a surprise! That’s exactly where the problem was hiding.
The images below show the results obtained with focus adjustments in 3 mm increments. I selected a featureless image—one without details that could interfere with the grain—but with shadows and light grays, which are the most critical areas. The display is at 100%One might think that comparisons made at 100% zoom on a 36 MP image don’t mean much for smaller print sizes. However, for the formats we’re focusing on here—such as A3 or A4—I argue that this method actually allows us to properly assess the results., with post-processing that includes no contrast enhancement, to ensure a fair comparison.
The version outlined in red brings a smile back to my face: I can see all the fine details I had hoped for. But to achieve this, I had to slightly adjust the focus from what I initially thought was the optimal setting (labeled 'Map LiveView').

This "chameleon-like" quality of the grain—how it can appear with such
wildly different textures depending on the extent of the focus
error—amazes me! The worst part is that I recognize the disappointing
results I’ve often gotten in the past, which gave me so much trouble
in post-processing, yet I could never achieve consistent quality. I’ll
admit I settled for it, thinking it was still better than all the
other techniques I’d tried. But there was an element of randomness
there that I didn’t question early enough!
Finally, a solid explanation—and THE solution!
Then Arno Godeke I take great pleasure in citing Arno’s work, whose results I have long admired for their exceptional quality. His approach is highly original and unexpected—fundamentally different from my own. fentered the picture. His kindness, technical and scientific expertise—which I so admire—helped me realize just how critically important focus actually is, contrary to what I had previously believed WARNING: This comes as a surprise because it directly contradicts what I had so often read online—namely, that in collimated light, focus adjustment is not 'critical'... It’s probably because this misinformation seems logical at first glance that I unfortunately never bothered to verify it. This costly mistake has wasted a lot of my time and energy.. In his blog , https://www.arnogodeke.com/Blog/Using-a-scanner-lens-for-DSLR-scanning Arno even mentions visible sharpness effects with focus adjustments as small as 0.1 mm!
How could I achieve such precise adjustments? I needed a well-suited tool, and it had to be affordable. Fortunately, I found this small precision sliding table (€26) https://www.arnogodeke.com/Blog/Using-a-scanner-lens-for-DSLR-scanning . I added an aluminum angle bracket attached to the base of my bellows. Now, I finally have a micrometric focus adjustment system. Instead of moving the enlarger head, it’s the Nikon D810 with its bellows that moves—far more logical, easier, and smoother..


Now properly equipped, I can indeed see in post-processing the difference in sharpness between images taken with a focus adjustment as small as 0.2 mm. My mistake is finally corrected, and my results are now consistent.
In response to my tests, Arno had an incredible idea. Since he works with diffused light and optimal optical equipment, instead of questioning everything outright, he simply added a 'privacy filter' in front of his negative. The effect on light collimation is stunning. He sent me a TIFF file so I could test his results. Well, it’s simply outstanding—so much so that, just like in my own experiments, I felt the need to soften the grain to better suit the female portrait. Amazing! Kudos to Arno for this idea—both surprising and highly effective!